For me, the main reason to visit Berastagi is the volcanoes. Perhaps the most famous in this area is Mount Sinabung, which has been erupting on and off since 2010.
With an exclusion zone of 7km, Sinabung is still very much in an eruption phase, so impossible to climb, but the views of this giant were definitely worth the drive!
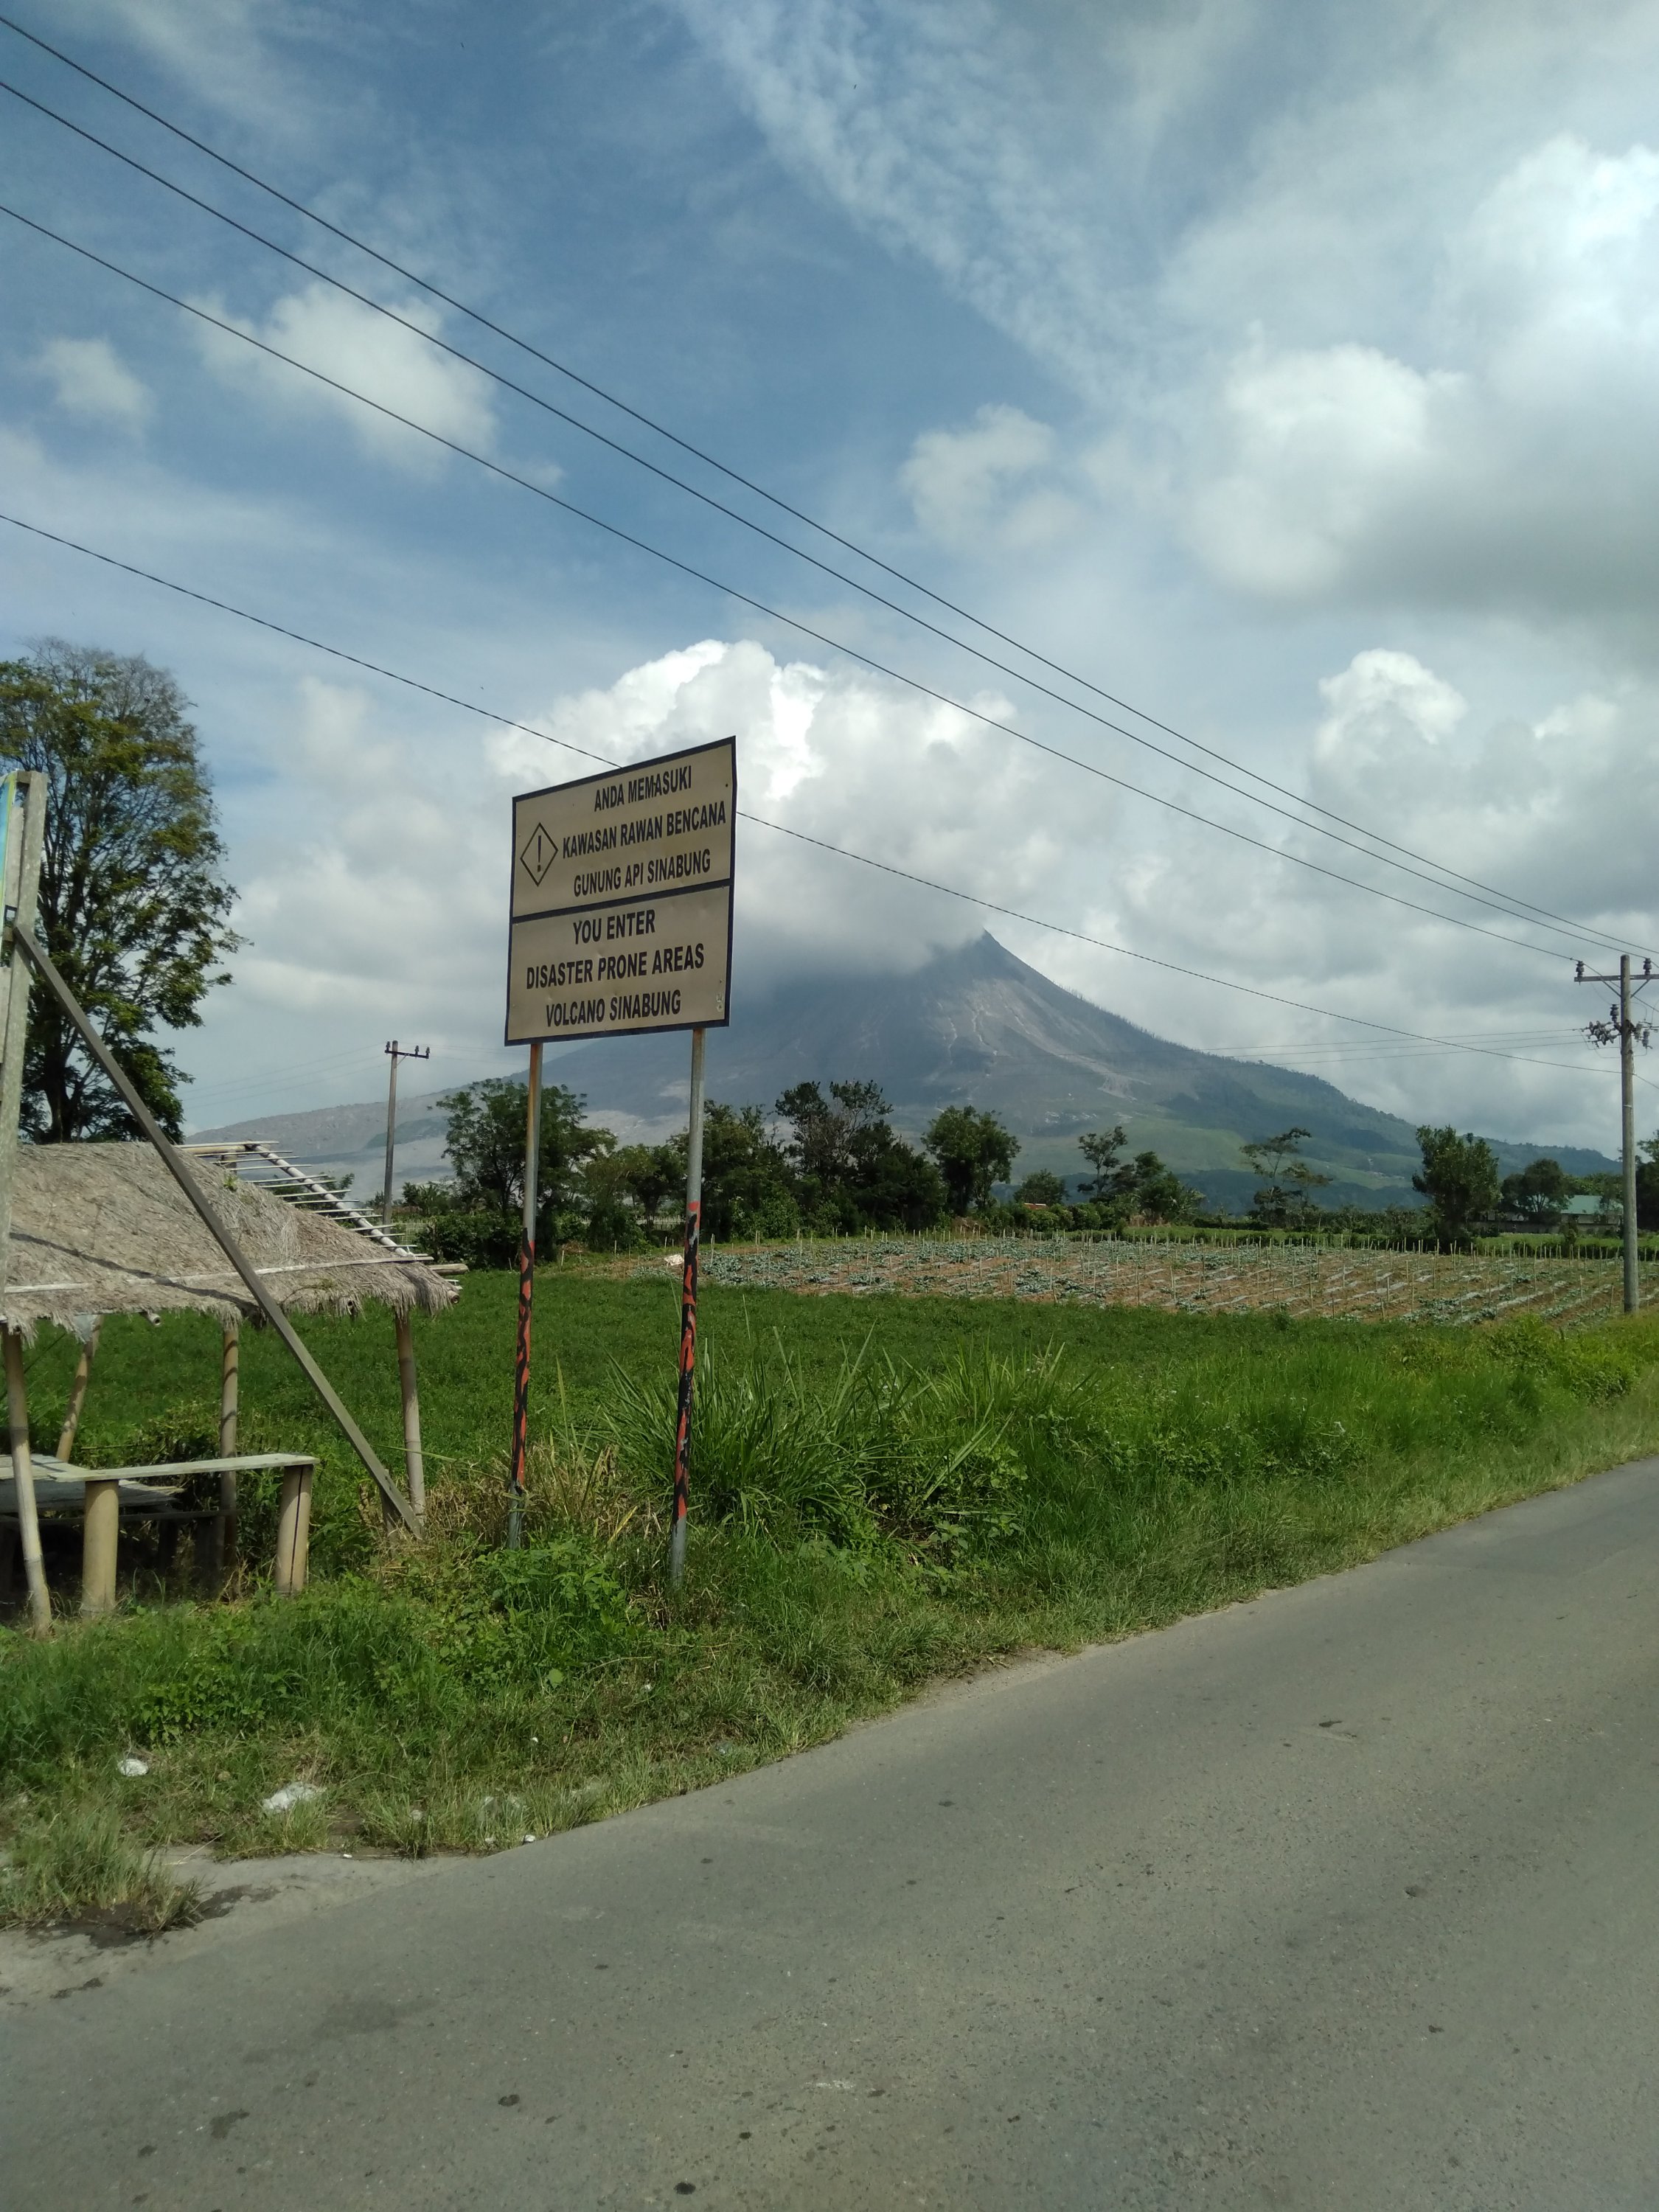
There are plenty of people that enter the exclusion zone daily; mostly farmers with land there, but obviously this is an enter at your own risk situation. There’s a small abandoned town about 2km into the exclusion zone worth checking out, if you fancy pushing your luck! But it is definitely worth bearing in mind that this one does pop on a regular basis…
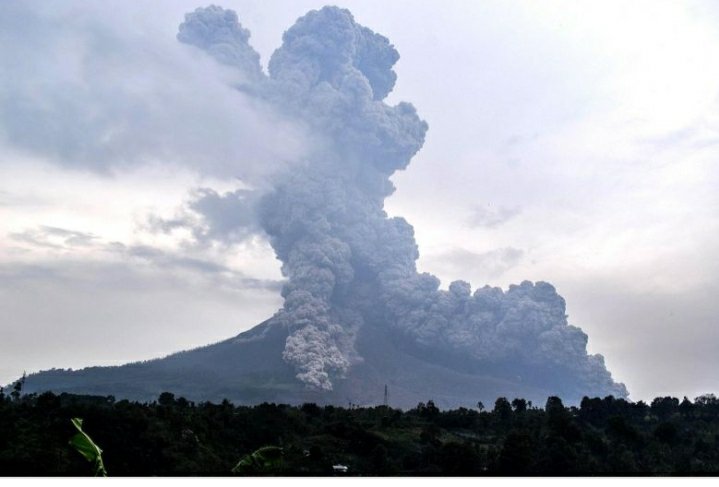
*Later edit*
Sinabung had a fairly sizable eruption a few days after this visit!
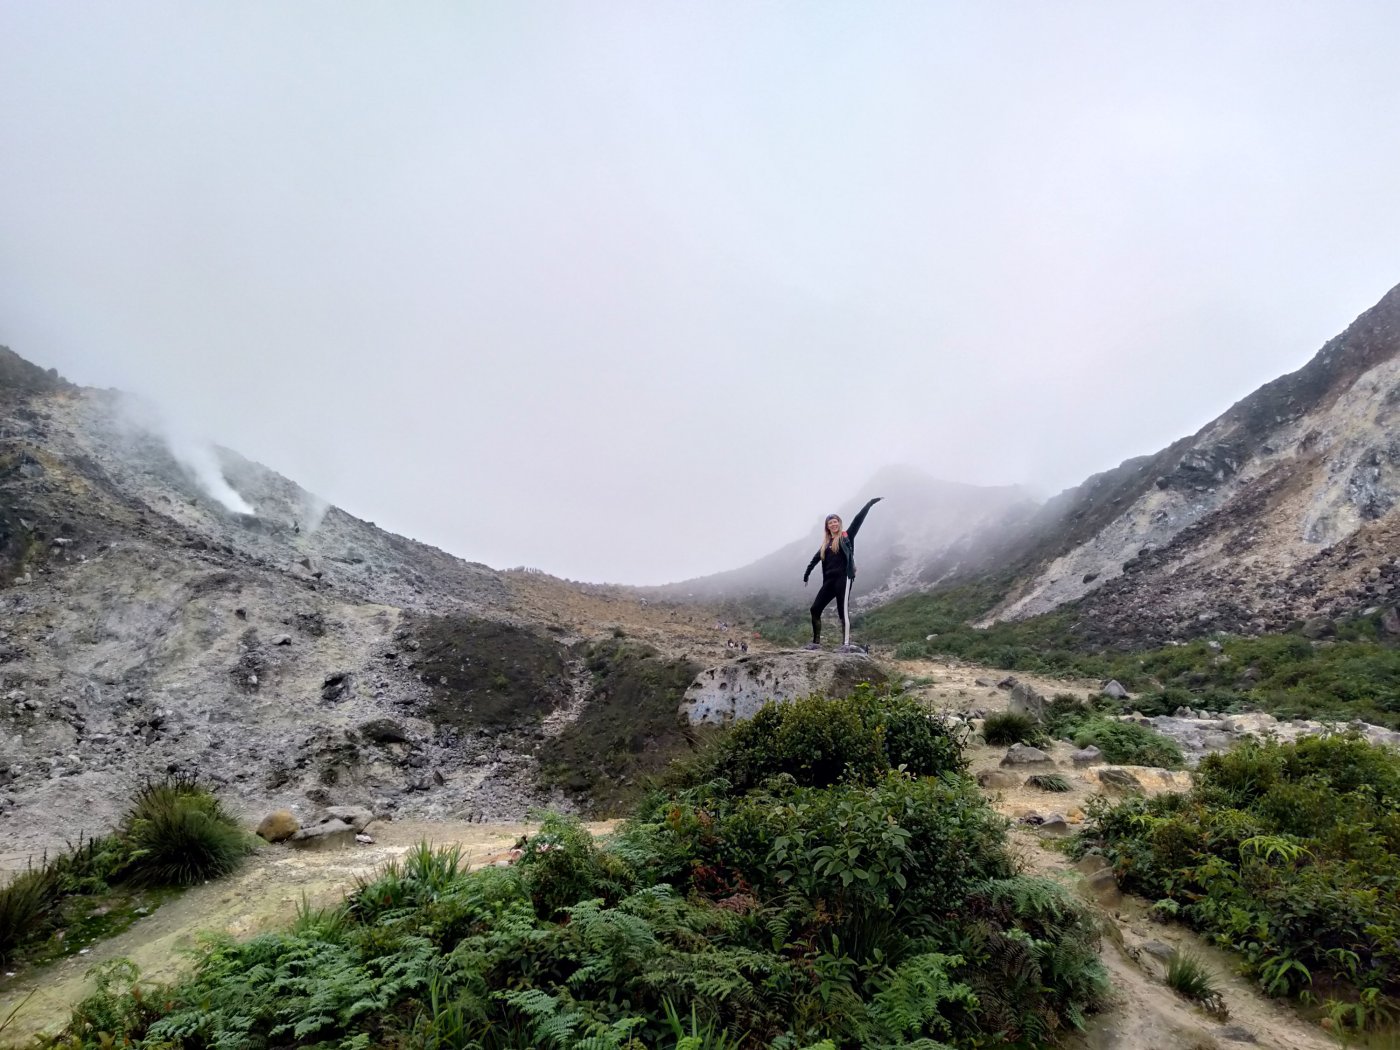
Gunung Sibayak
Climbing Sibayak usually costs around Rp 400-500,000 with a guide. Having hiked a fair few volcanoes at this point, we decided to give this one a go without a guide, using trusty Maps.me to help.
We also decided to hike it before sunrise, so there’s an extra element of adventure for you!
First, we hired a motorbike the night before and headed off at 4am for the 30/40 minute drive from Berastagi. The route was fairly simple to follow and road conditions were okay too. Then you park up (Rp 15,000) and begin the hike. The first part is road, which is possible to drive, however it is not in very good condition. This part of the walk was probably the most difficult, however I’m not sure whether this is because it was quite steep or because we weren’t warmed up enough at 4.30am for the walking! When you get to the second car park, with the little warungs and toilet, the path is just to the left and a little steep for the very first few metres. For the first half of the walk there are steps and a clear, defined path.
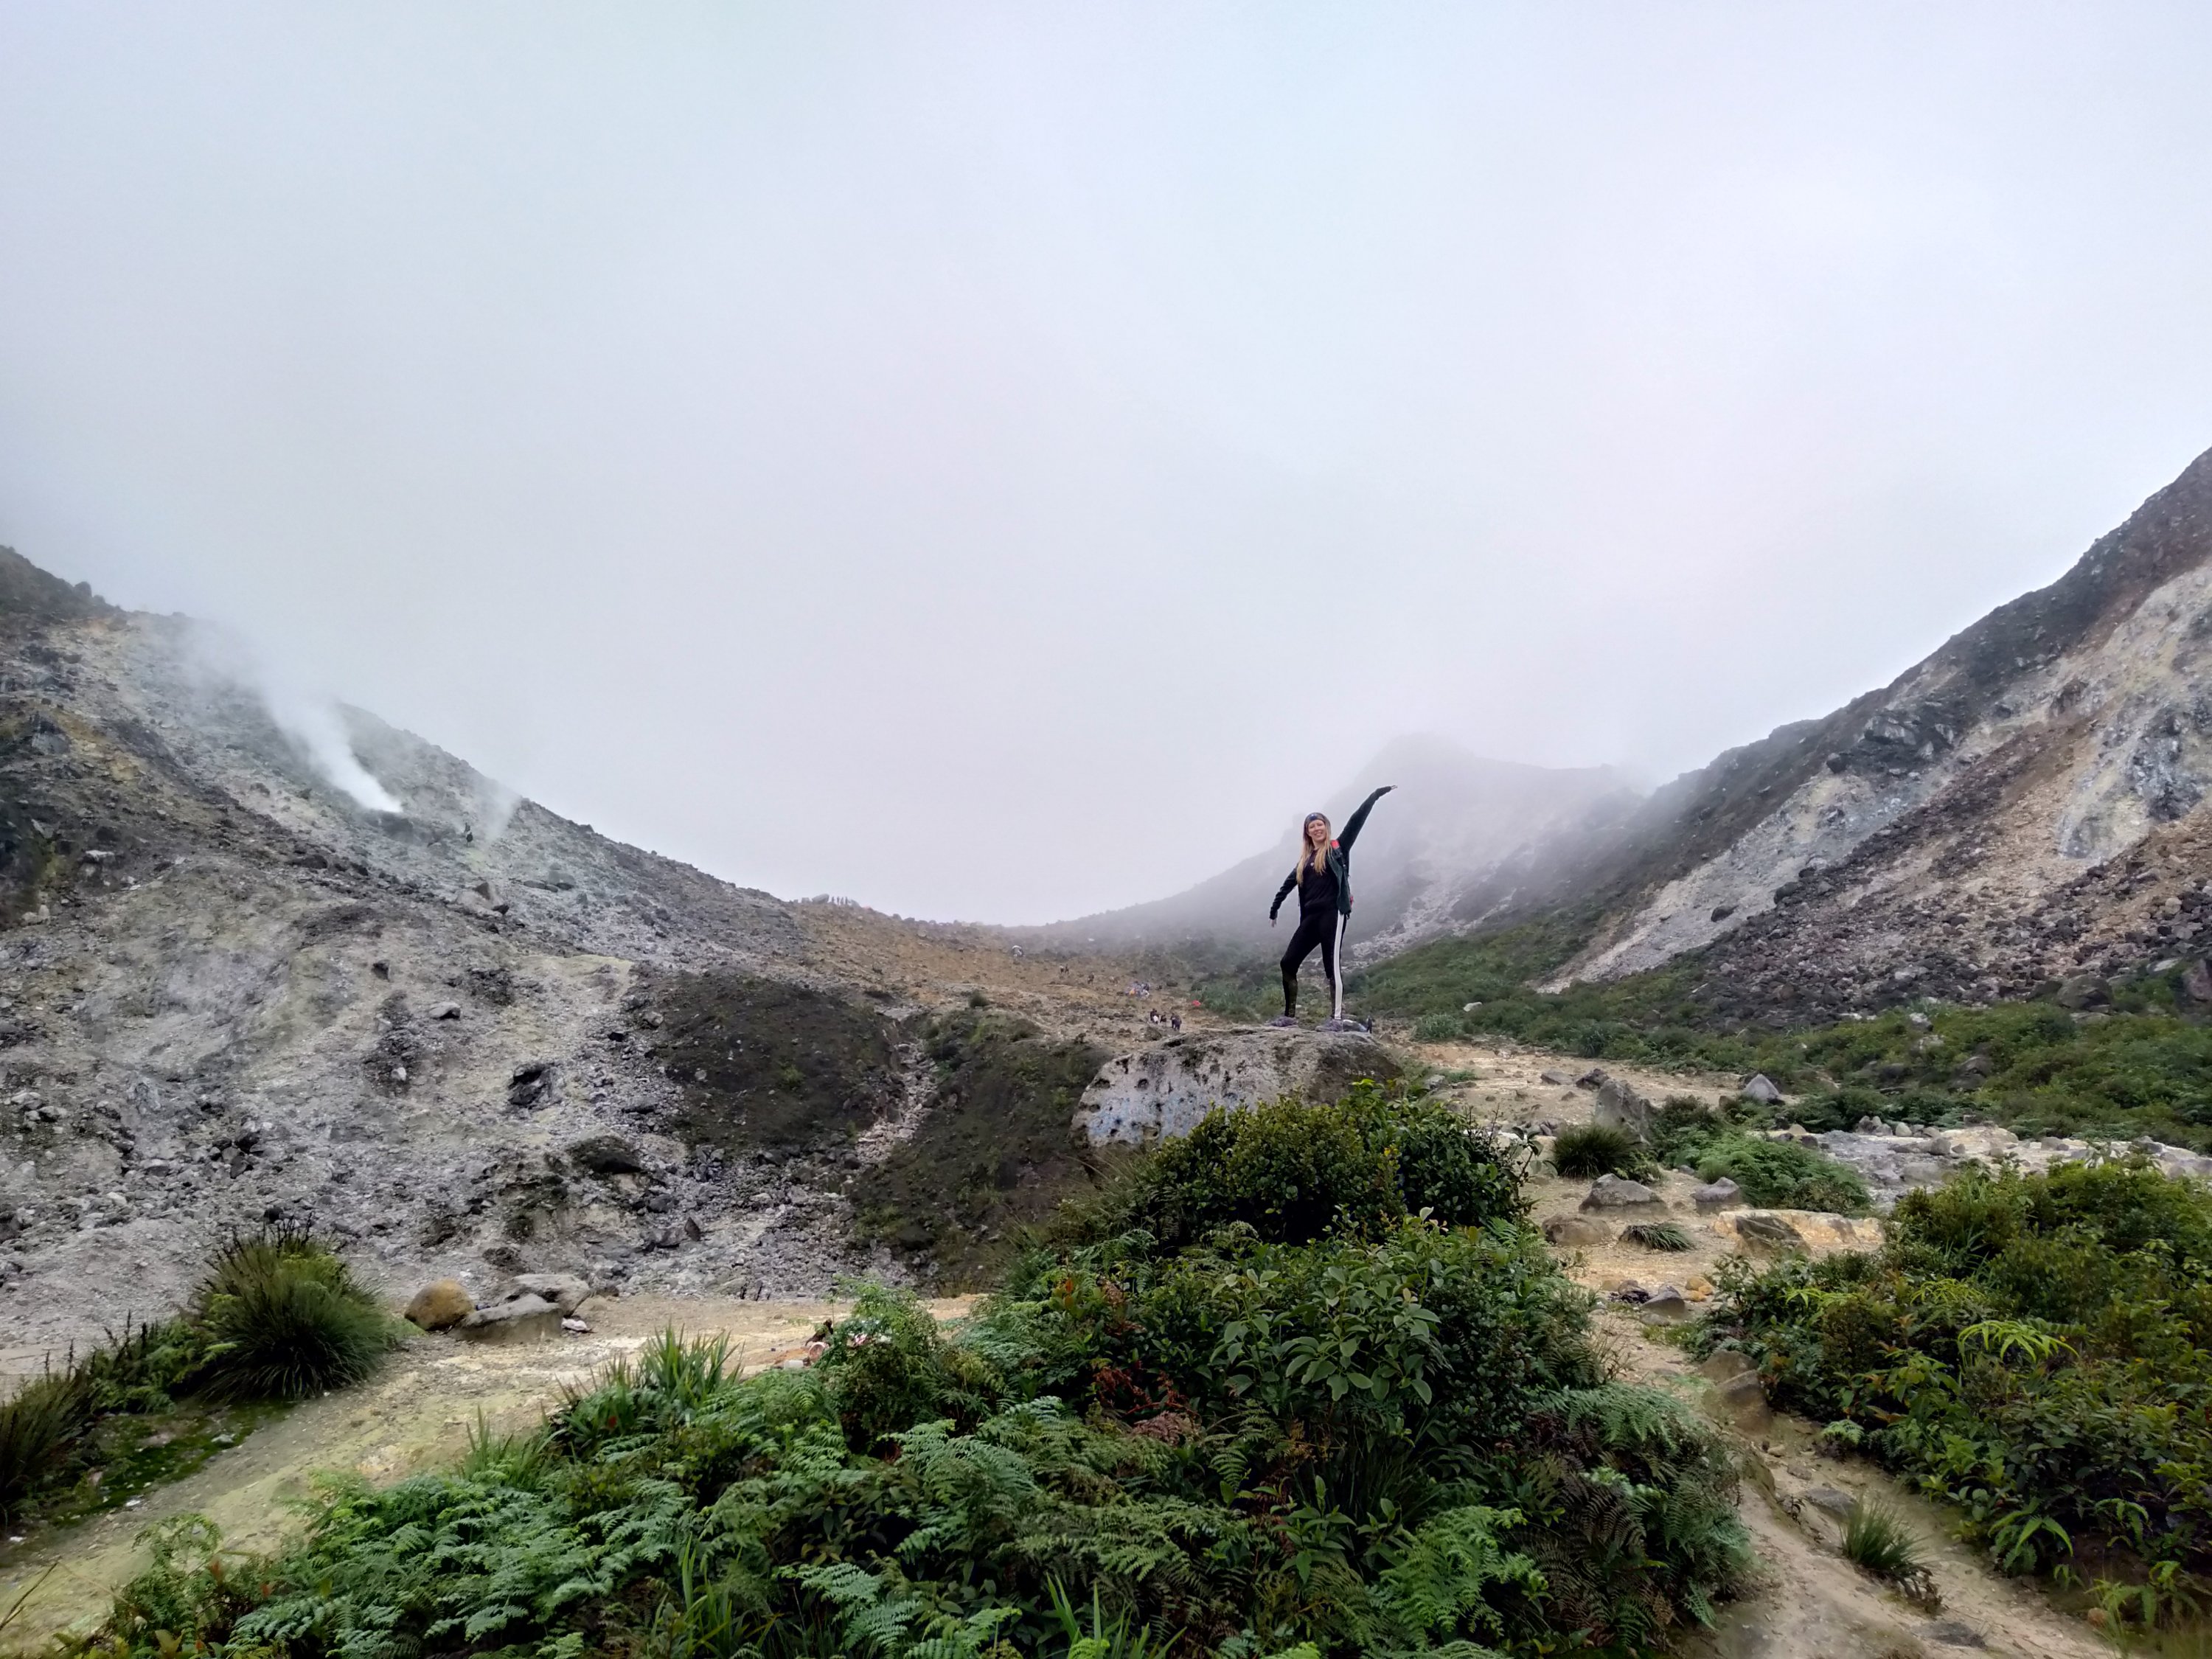
Towards the summit and crater the path becomes less clear. We definitely got a bit lost (particularly as we were attempting this in the pitch black!), but after trialling different routes and taking care around the crater (some steeper sides to be wary of), the route to the puncak (peak) became fairly obvious, as the sides of the crater narrowed out. The very last part is pretty steep and requires a little bit of climbing. In the dark/ sunrise gloom, this part can look pretty intimidating as you can’t see how big the drop is and the sides look very steep, however it’s pretty safe, you’ll just need to take it easy.
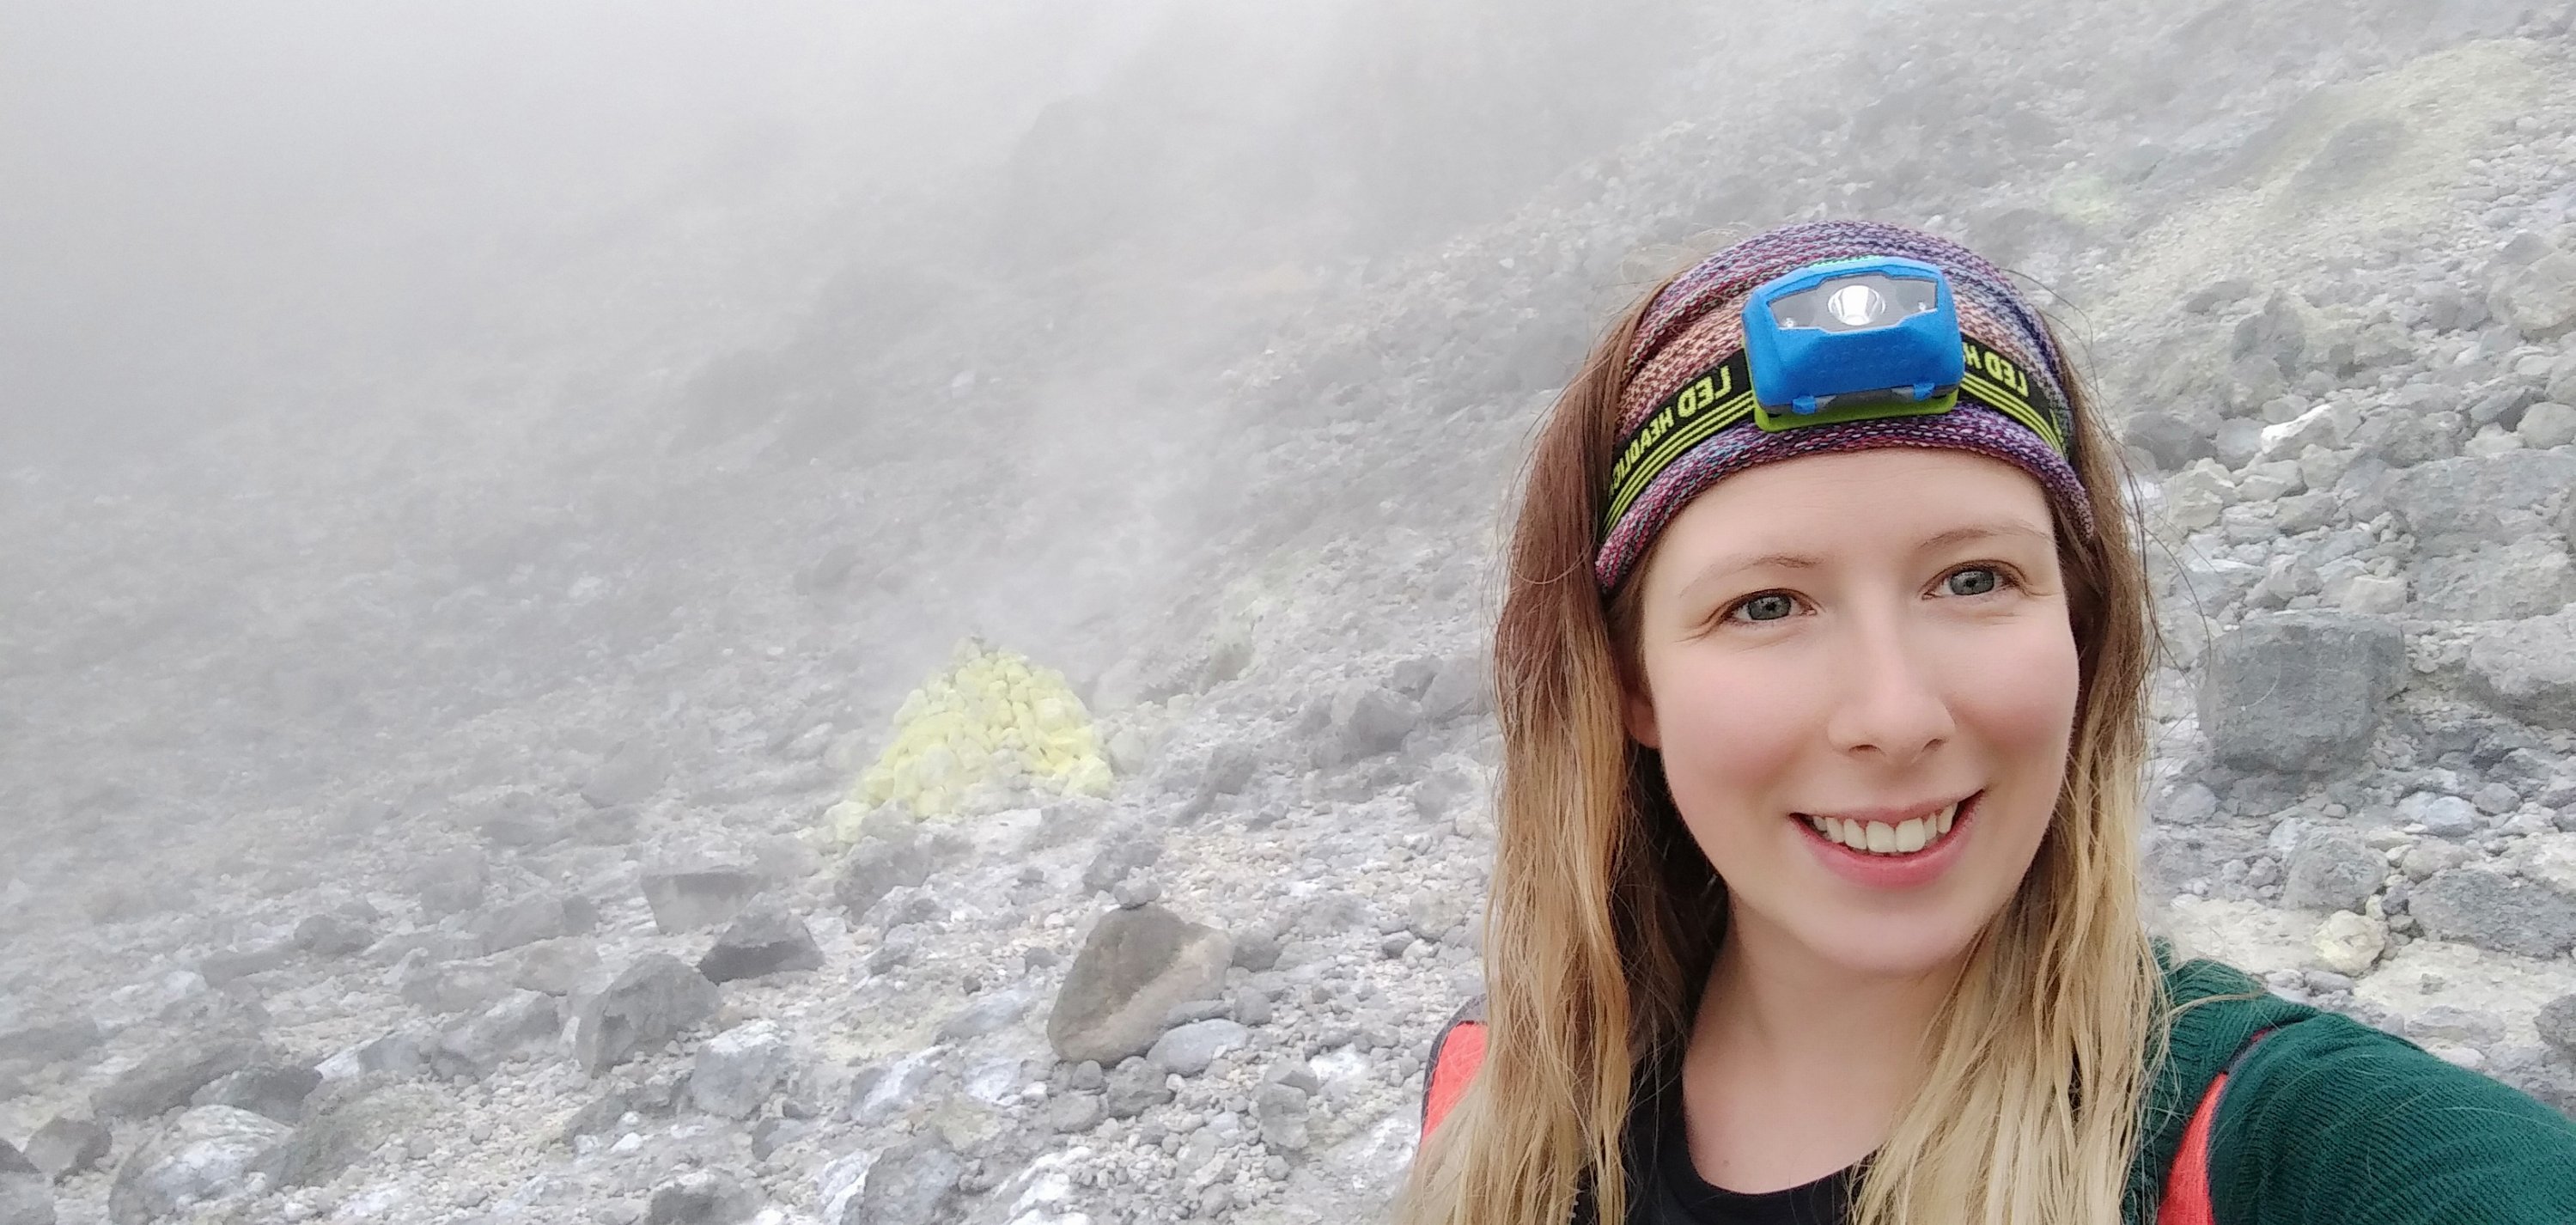
Unfortunately the weather wasn’t on our side, so no golden sunrise, but getting out in the mountains isn’t just about that! Once the sun is up, the route back down is easy to spot and then you can get in and explore the crater (obviously with sensible proximity to the steam vents!).
If you’re not a confident hiker, the cost isn’t too much to shell out to be sure of a decent trip, however if you’ve got a bit of experience I’d say that this one is easy and safe enough to do alone, plus it makes it a bit more fun!
Kitlist
- Hiking boots or trail runners. A couple of slippery bits near the top.
- Waterproof
- Headtorch
- Maps.me
- Motorbike (Rp 100,000 including fuel)
- A couple of thousand rupiah for the toilets, parking and tickets (Rp 2000, 15,000 and 5000 respectively)

Leave a comment